
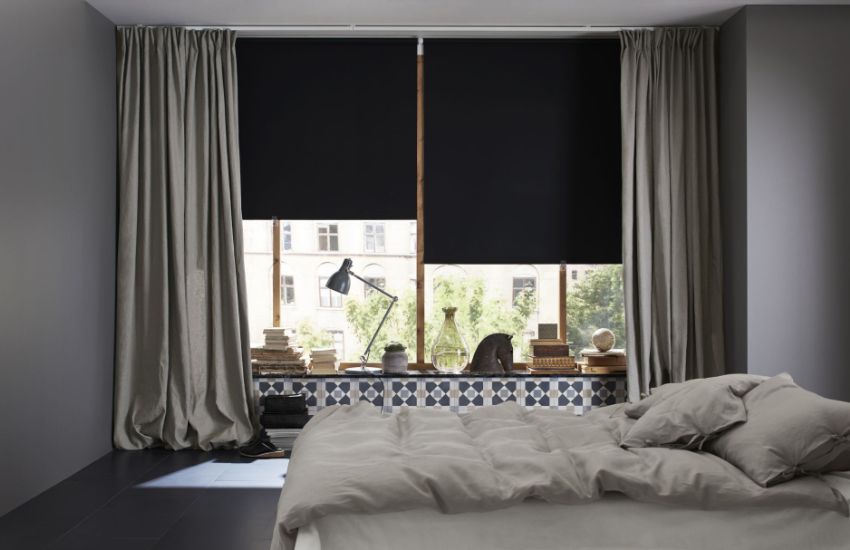
Blackout curtains are timeless window coverings due to their unique aesthetics, multi-functionality, and useful features. Other than room-darkening, they also keep room furniture, walls, and other accessories from fading by blocking UV rays. This feature also protects the eyes from harmful sun rays. Installing these curtains will make your room disruption-free, and let you enjoy a great sleep in peace.
If you need to install blackout curtains in any residential or commercial place, Baniyas Furniture has come up with a complete installation guide. This info will help you with the precise fitting of your new curtains without having to spend on professional services.
Step 1: Gather Supplies That You’ll Need
Before initiating the process, you need to have all the essential tools and materials to avoid any inconvenience. We have enlisted all the necessary tools below:
- Measuring Tape
- Pencil/ Marker
- Blackout Curtains
- Hammer
- Level
- Screws/Nails
- Drill Machine
Step 2: Unpack & Iron Your Blackout Curtains
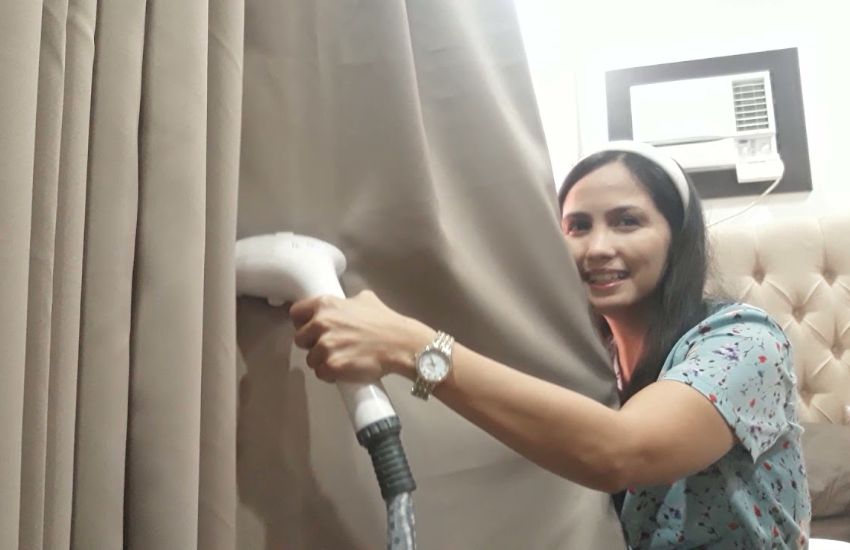
After grabbing the essential tools, you can unpack your blackout curtains and lay them flat on a clean surface. Make sure you have read all maintenance instructions provided by the manufacturer before any proceeding. To remove any seams and creases, you can carefully iron the fabric surface.
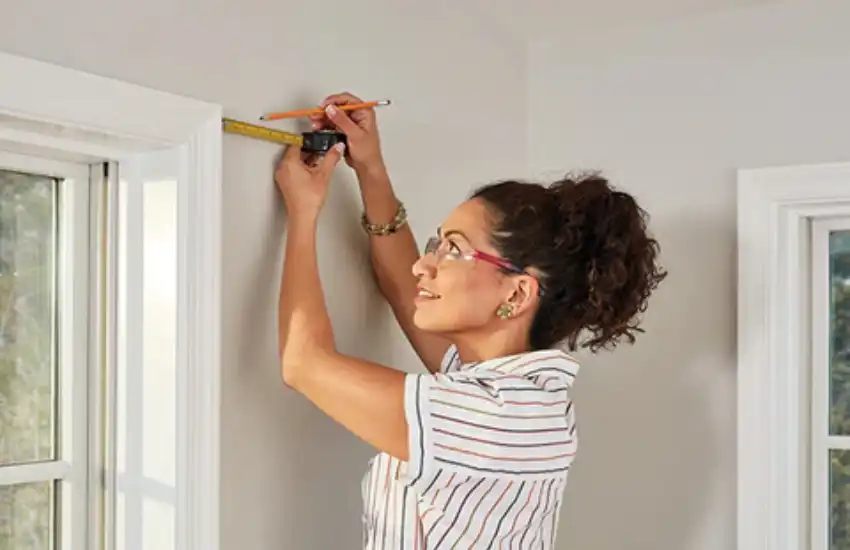
Step 3: Take Window Frame Measurements
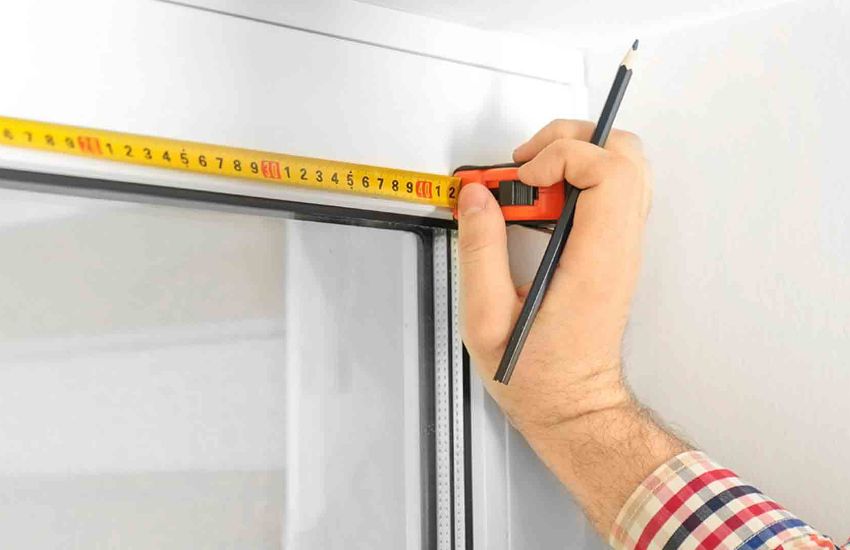
a. Measure The Length Of Your Window Frame
For hanging sun-zero curtains, you have to precisely measure the length of your window. If you are using a curtain rod, then measure the length of both the rod and curtain. This helps you to decide the length of your window covering. If your window is long from one side then consider the longest side’s measurement.
When you are using a rod for hanging light-blocking curtains, add 4 inches extra to the final length. This way, you can enhance privacy and get more light control. These 4 inches (10 cm) must be above the window frame. Always keep the rod length below 8 inches, otherwise it will make the curtains look awkwardly taller.
b. Measure The Width of Your Window Frame
Take a measuring tape and measure the width of your window frame from the right end to the left one. For more accuracy, try to take width at the top, middle, and bottom. If the window is not symmetrical, then choose the widest measurement.
You can enhance the sun blocking effect of curtains by adding extra inches to the total width. Use at least 2.5 times wider curtains as compared to your frame’s total width. This will increase the beauty of your workplace, office, or home window.
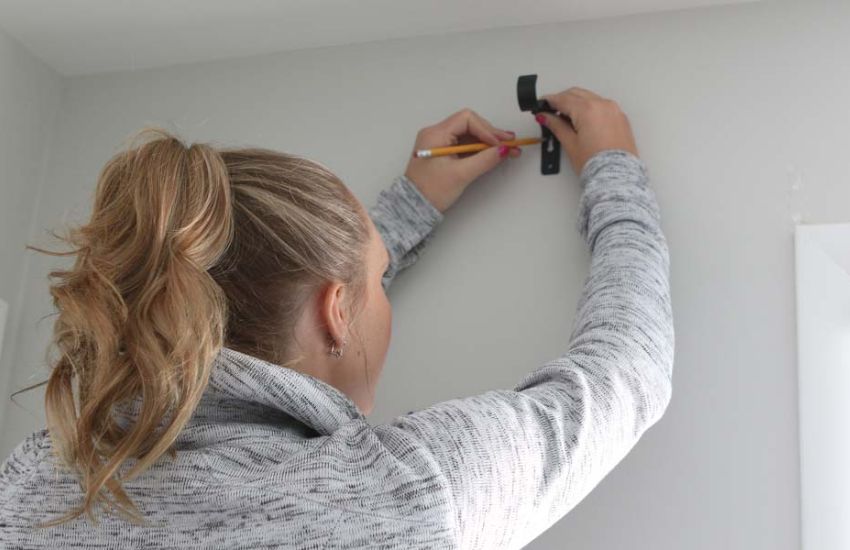
Step 4: Mark The Drilling Area
After taking precise measurements of your window frame, now you have to determine the exact point where you want to make a pilot hole for attaching the brackets and curtain rod. For marking, place the bracket along the wall surface and make a circle around the bracket with a pencil or marker.
Step 5: Install Curtain Brackets
Before bracket installation, you need to make precise pilot holes in the marked area by using a heavy-duty drill machine. Fix the brackets at either end and tighten them with screws or nails. Use plastic or rubber-made wall anchors to hold the screws firmly. In addition, you can also use a screwdriver for a swift and easy approach. However, if you want to inject nails, use a heavy-duty hammer.
Step 6: Pass the Curtain Onto The Rod & Add In Finials
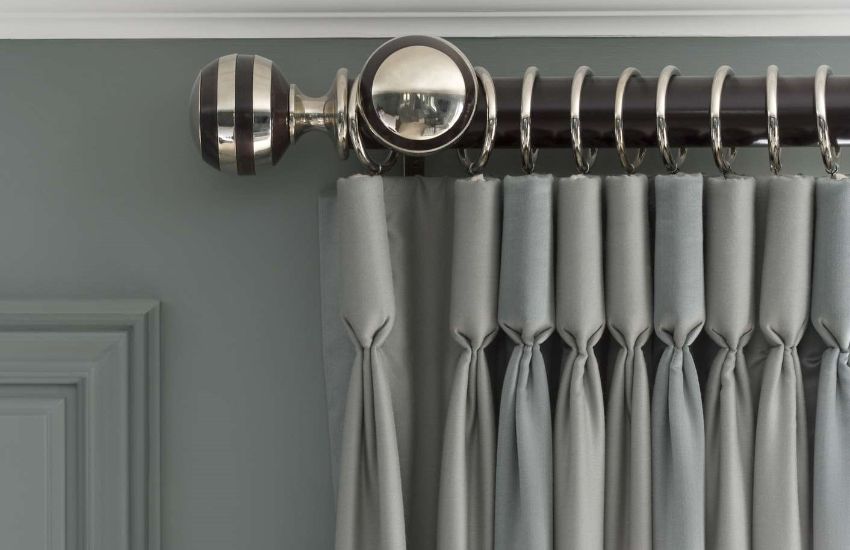
Now, you can pass the curtain through the rod by incorporating rings one by one. Make sure you have passed all the rings into the rod. Add finials or stoppers on both sides of the rod to stop the slipping of curtains. While choosing the rod’s thickness, always consider your curtain rings or grommets’ diameter for easy moving.
Step 7: Fix Curtain Rod To Wall & Hang
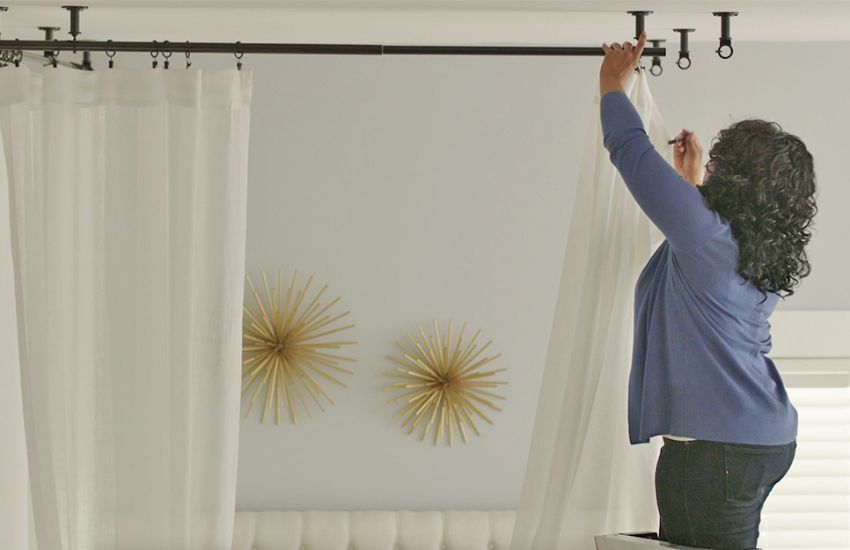
This is the final step where you’ll be hanging blackout curtains on your window. If your window length is high, you can get assistance from another person to fix the curtain rod onto the wall brackets accurately. After hanging, move the drapes right and left to check their proper functioning. Furthermore, place the level on the top of the rod to analyze its straightness.
Conclusion
To sum up this instructive article, we can say that installing curtains is a technical work that requires a professional guide describing each aspect in detail. For your complete assistance, we have presented a complete installation guide with multiple easy yet effective steps. By going through this entire guide, you will be able to hang your blackout curtains efficiently and properly.


