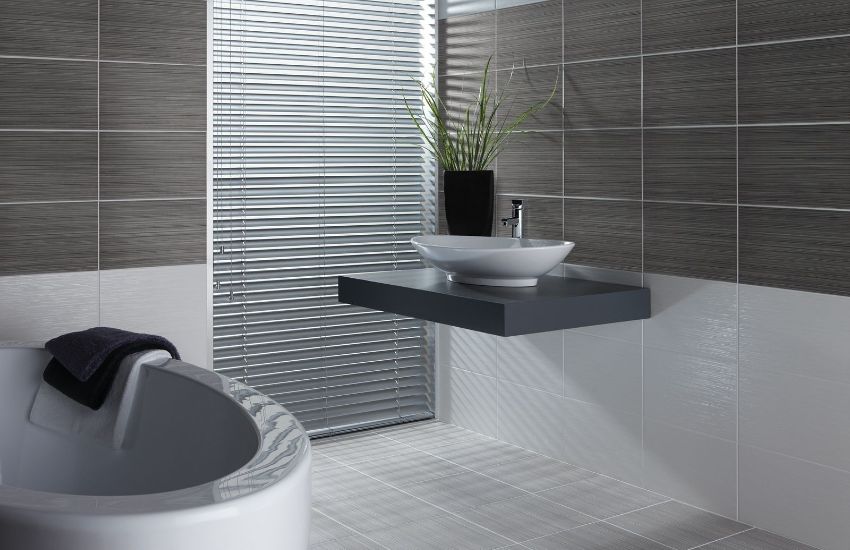
To give your bathroom a catchy finish and enhance its decor, wall panels is the most effective choice for wall covering. Because of their ease of installation, maintenance, and other additional benefits, they are considered the ideal interior trend. Wall panels can transform the style of a bathroom instantly while concealing all the wiring and imperfections. Made from moisture-resistant MDF, acrylic, or vinyl materials, these covers are good for smooth wall finish.
They are easy to install, effortless to maintain, and a simple to replace option in the bathrooms. If you have existing tiled walls in your bathrooms, you might wonder if it is possible to put this wall-cover over the bathroom wall tiles. This article by Baniyas Furniture will provide you with the detailed aspects regarding wall-panel installation.
Easy Steps To Install Wall Panels Over Bathroom Tiles
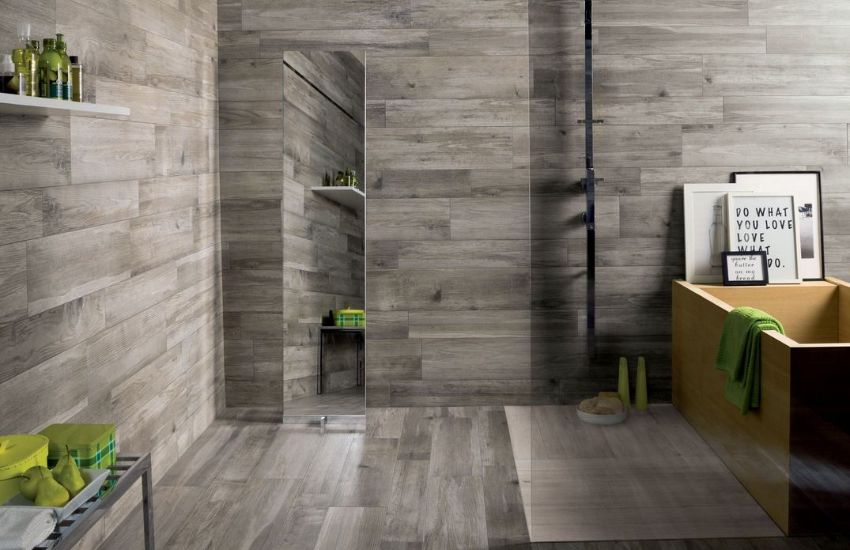
Wall panels are considered best because they are versatile, cheaper, easy to install, and maintain. On the other hand, tiles are expensive and require professionals for installation. To style your bathroom walls, both of these wall treatments can go side by side. If you are looking for a way to put these wall-arts over the bathroom wall-tiles, here’s what you need to begin with.
List Of Tools And Materials
After you have picked your desired wall-design, now is the time to transform your bathroom by installing them. For fitting purpose, you’ll need some tools and materials handy:
- A Duster
- Cleaning Solution
- Pencil & Ruler
- Tape measure
- Caulking Gun
- Safety Doggles
- A Sharp blade
- Electric/ Fine Tooth Saw
- Adhesive Sealant
- Sand Paper
- Sealing Kit
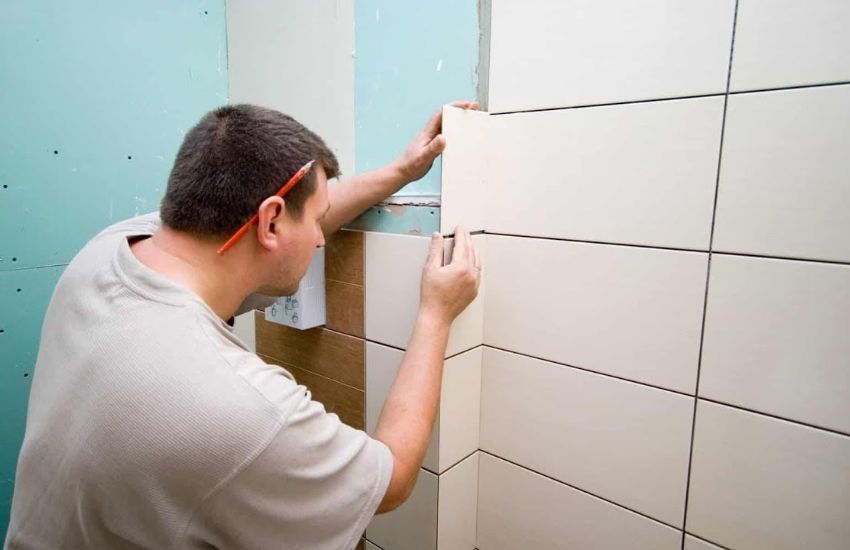
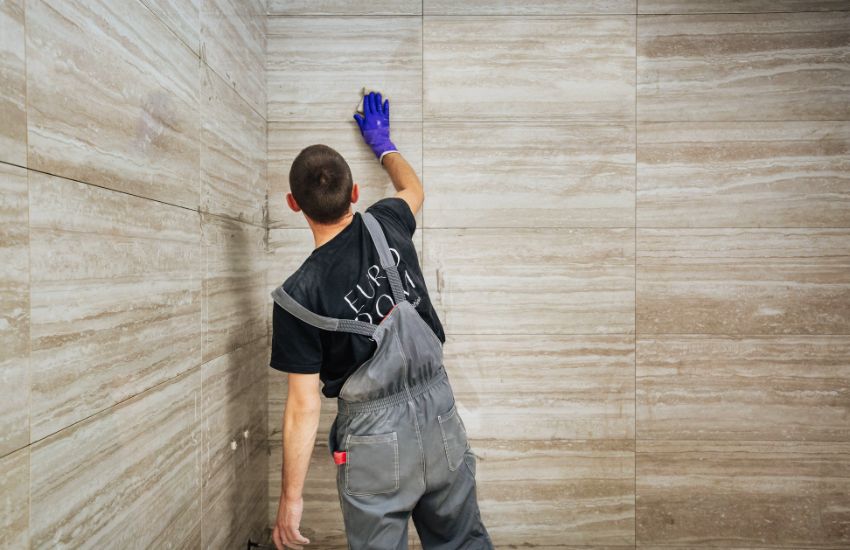
1. Measure And Treat
Wall panels are available in different sizes and can be customized to fit the wall parameters effectively and flawlessly. If you’ve already purchased Wainscoting, you can measure them for cutting purposes. First, take precise dimensions of your bathroom walls.
Measure in both vertical and horizontal dimensions using a tape measure to get the accurate size details. Repeat the process for each wall and note down the measurements on a paper or notebook. Also, a pro tip before fitting them is to clear dirt particles on them. You can clean them using a duster and anti-bacterial liquid while laying panels flat, ensuring they are ready for a perfect fit.
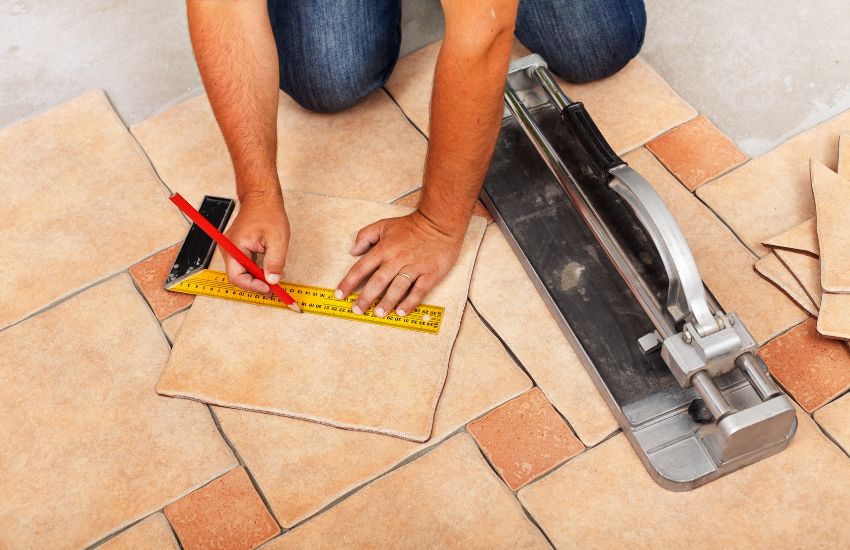
2. Marking And Cutting
Now that you have got the accurate dimensions, it’s time to go for marking to indicate the line for cutting. Lay down your wall-covers on a clean and flat surface while facing upward. Mark out the precise lines using a pencil and ruler to create a line for flexible cutting.
Also, you can use the tape on wall coverings to protect the edges or any additional area for cutting. Now use an electric saw or fine tooth to cut the excess portion, in both length and width. Ensure using safety goggles when you are cutting these panels.
3. Sanding And Smoothing
The cut these wainscoting that can have sharp edges, you should seal these edges properly prior to installation. To smooth out your wall panels from the edges, you can use good-quality sandpaper. Using the sanding pad on the cut edges, you can create a smooth finish.
Any leftover bits of MDF and debris of acrylic, vinyl, or laminate must be removed for a clean surface. Now flip it and use sandpaper to rough up the surface to ensure that glue or adhesive adhere to it much stronger.
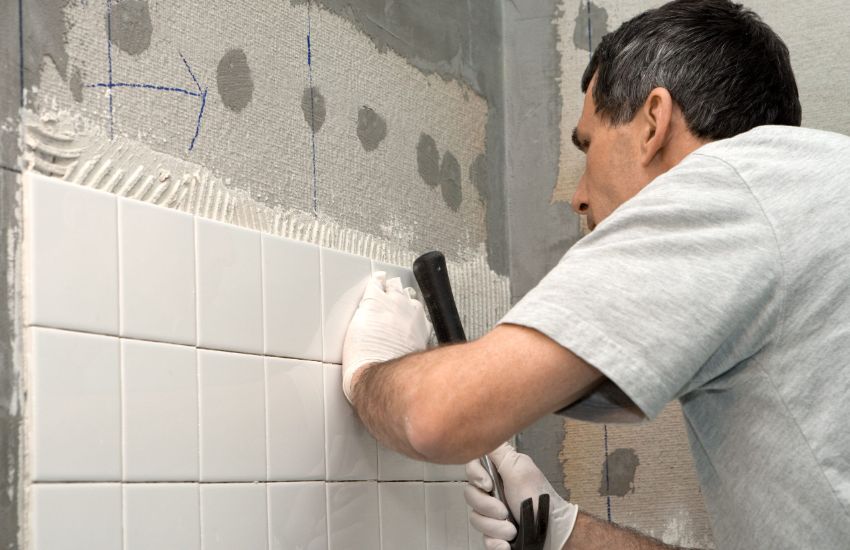
4. Attach The Trim
Prior to the installation of panels, there comes the attachment of trim that needs to be slotted into the walls. This trim will need to screw into the wall and require the adhesive sealant to fit in appropriately.
For fitting this trim to the corner wall of your bathroom, you’ll need to add the sealant to the wall. Then, position the corner piece and add tile spacers underneath your wall. Press these spacers with firm hands, ensuring they are stuck to the wall properly.
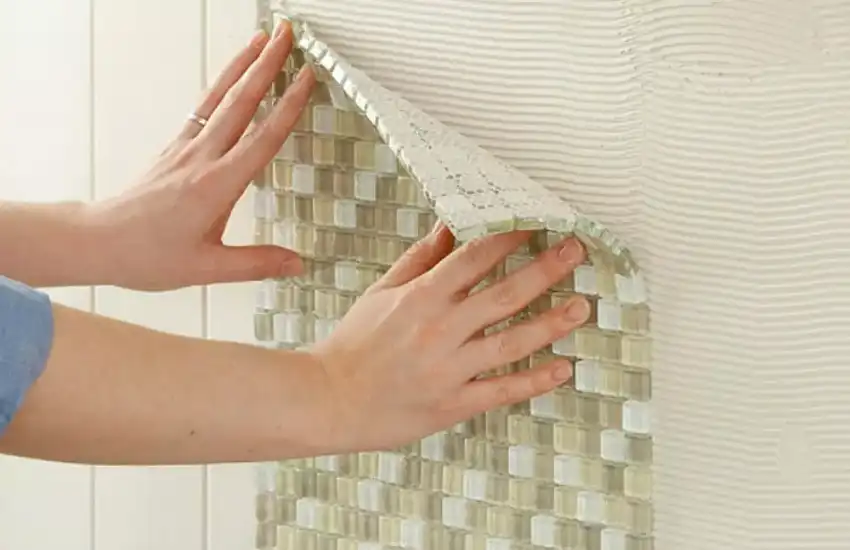
5. Fit Panels, Repeat, & Give Finishing Touches
For installing wall panels, attach at least three foam stripes along the panel length with a thin layer application of adhesive on either side. After simple thin layer, go for another zig-zag top-to-bottom layer. Lastly, make large circles to evenly spread the adhesive.
Remove back the foam stripes, add adhesive sealant inside at every edge or corner, and slot your wall decor to their intended space with proper positioning. Repeat the process, keep pushing panels firmly while connecting their tongue and grooves. You can add the finishing caps to the side edges for an excellent finish.
To Sum Up!
Wall panels are the most versatile accessory to cover and style any kind of wall in your residential & commercial interiors. When it comes to installing these water-proof wall panels over the existing bathroom tiles, people get confused about whether it is possible or not. After going through all the details in this guide, you’ve come to know that, logically it is possible to put this highly functional wainscoting over tiles.
To make it possible, you have to gather all the essential tools. After taking measurements, and preparing walls to treat the damages, you can begin with marking for the wall panel installation. After cutting them to size and properly sanding, you can attach the trim, fit your panels, and give it a smooth finish by checking the precision and accuracy.


